28 August 2025 / Projects
Setting out picture-frame panelling
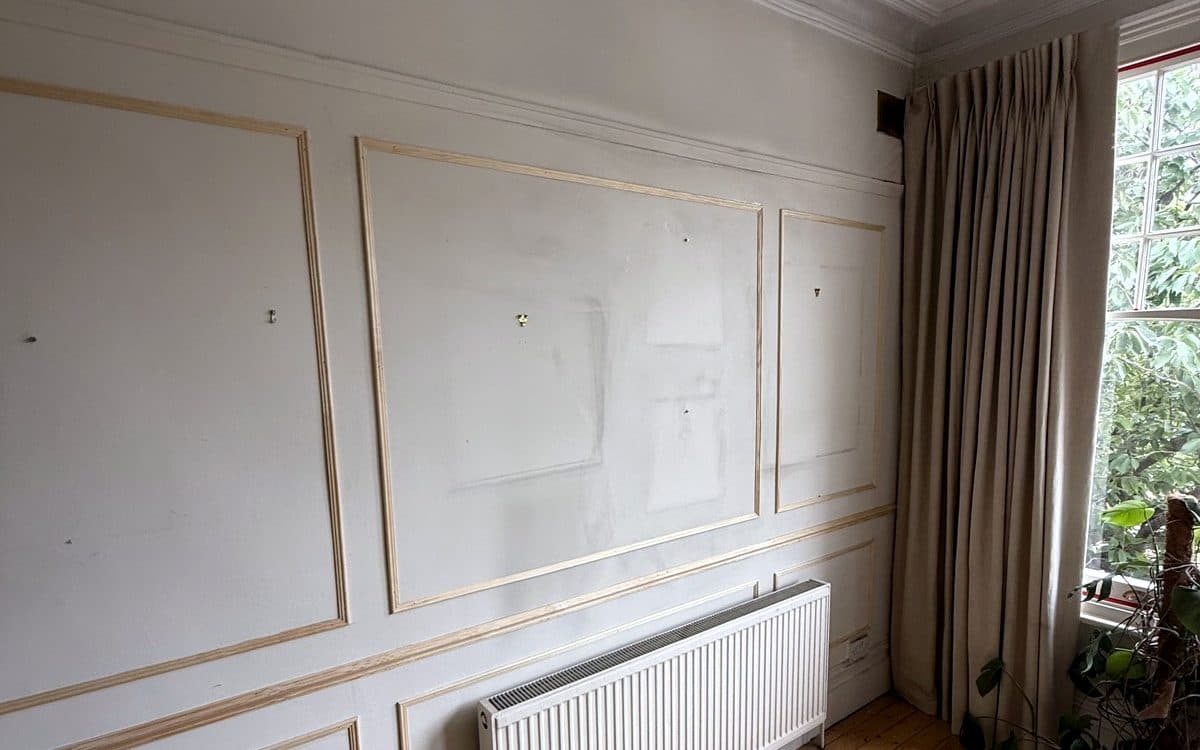
Panelling looks simple. Four bits of moulding in a rectangle, repeat. The hard part is the spacing, and that is all done before a single length gets cut.
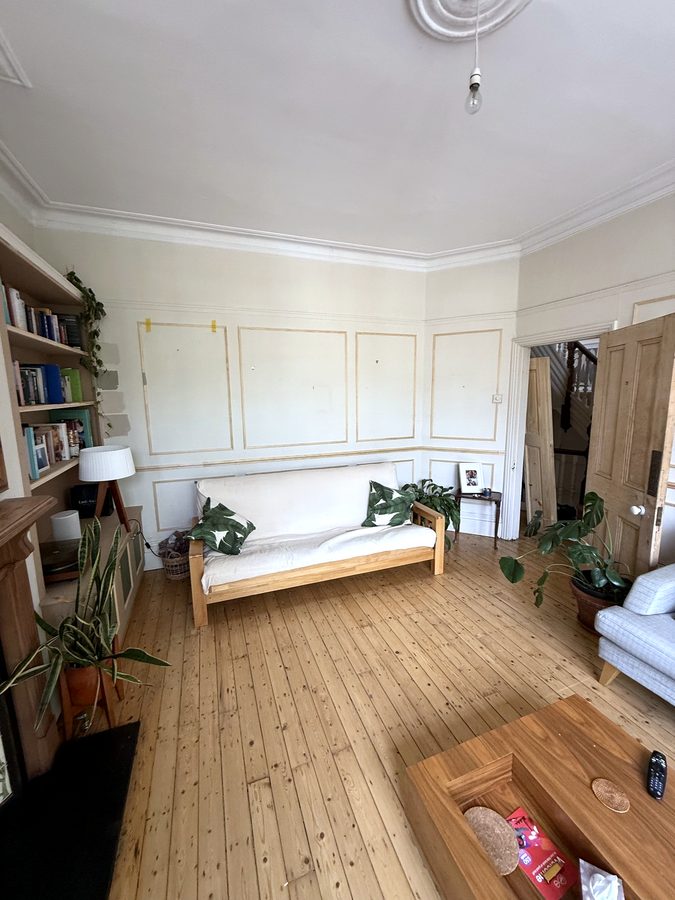
This was a living room in Haringey, the same room where I had just built a TV unit and a bookcase in the alcoves. Tall ceilings, a deep cornice, an old fireplace. Plain walls did not do it justice.
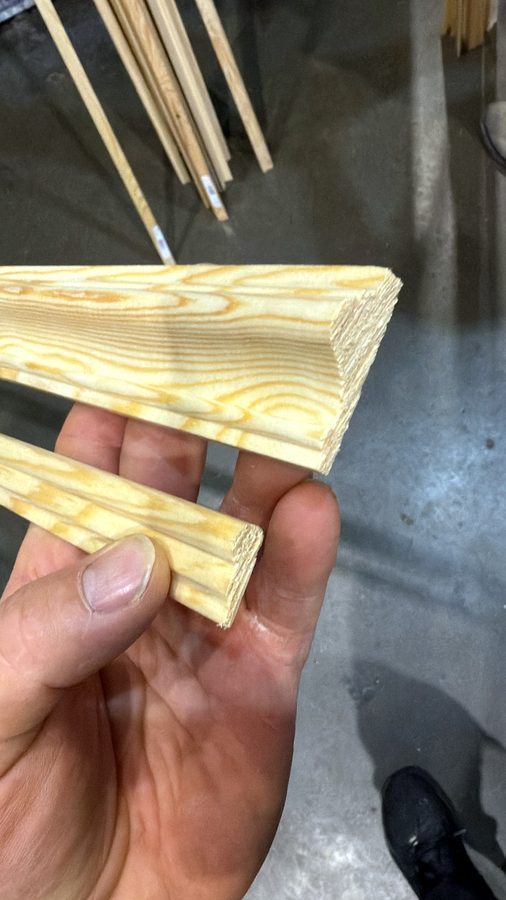
Two profiles, chosen first thing that morning.
The rules I set out by
- Dado rail first. Everything else hangs off that line, so it goes on level all the way round.
- Same gap everywhere. The gap between frames, between a frame and a corner and between a frame and the door is the same. Your eye notices a wrong gap long before it notices a wrong frame size.
- Frames can change width, gaps cannot. If a wall does not divide evenly, the frames get a little wider or narrower. The gaps stay put.
- Work round what is fixed. The radiator, the door, the window. Lower frames stop clear of the radiator and line up with the frames above it.
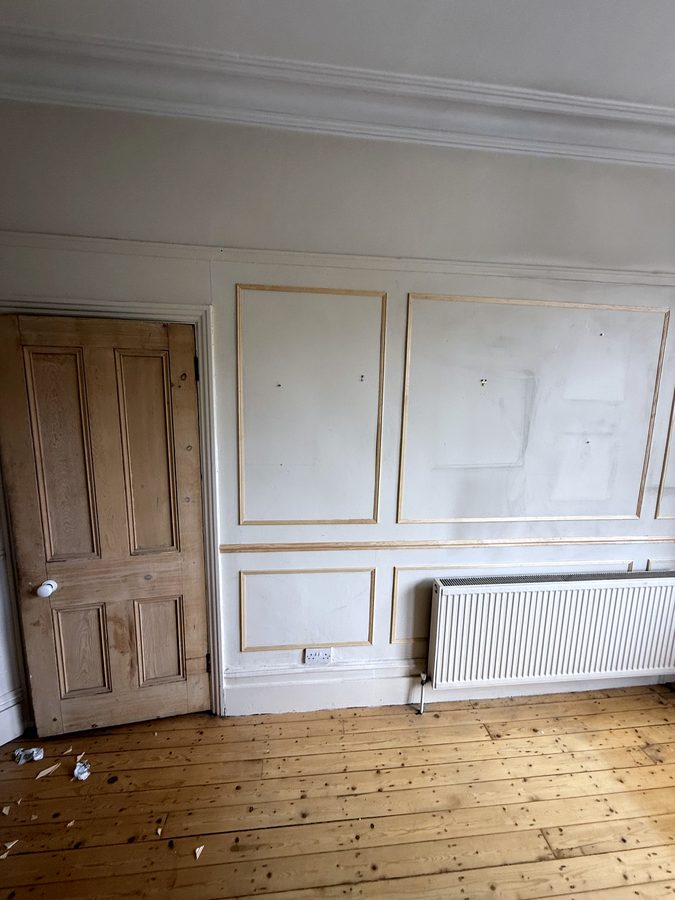
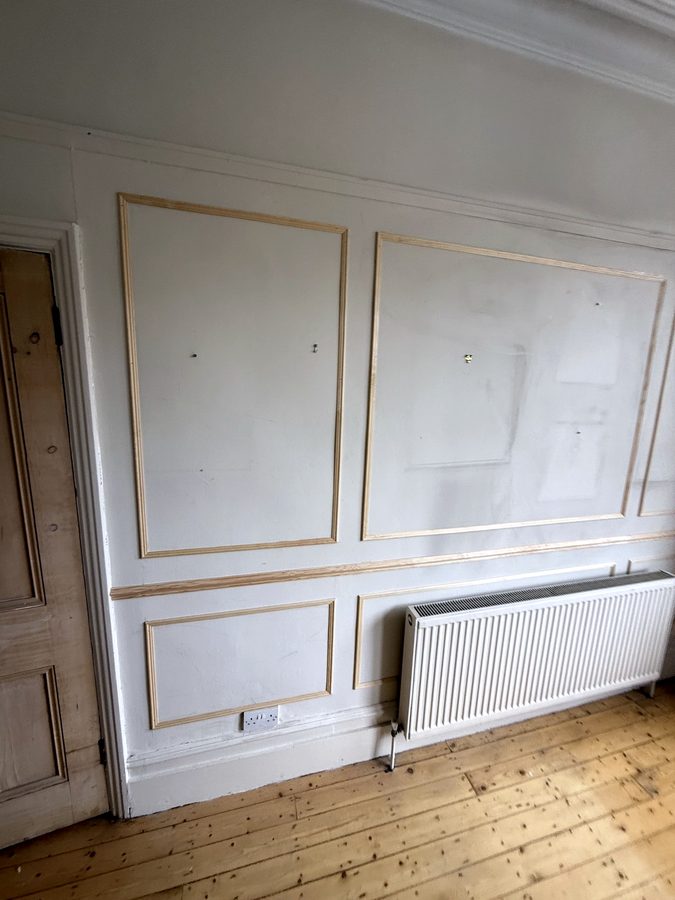
Each frame is mitred at the corners and fixed to the wall. The mitre saw does the cutting. The nailer means one hand holds the frame and the other fixes it, without a hammer anywhere near a freshly painted wall.
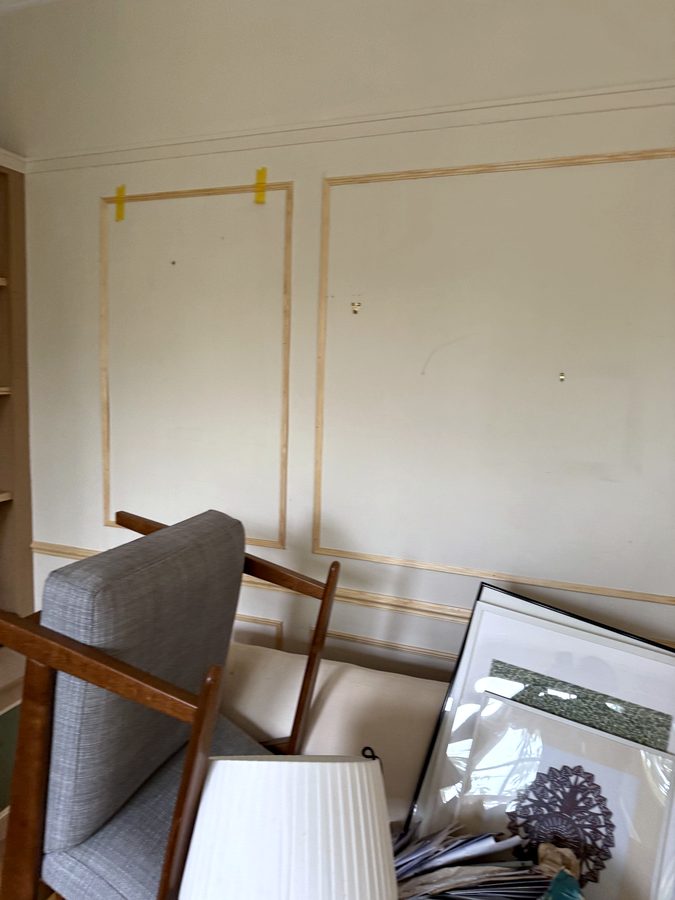
Once it was all up, the room was left for the decorator. Painted the same colour as the walls, the frames turn into shadow lines, which is the whole point.