
29 August 2026 / Projects
A curved storage seat for a kitchen bay
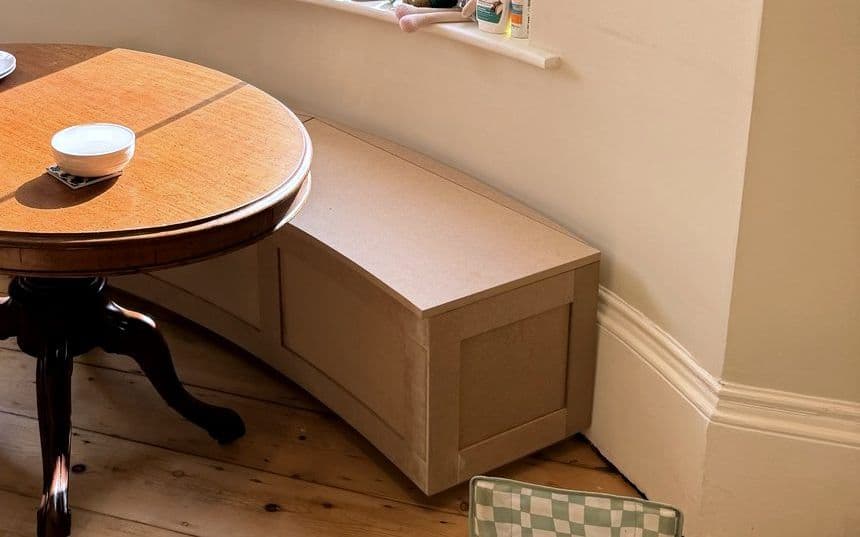
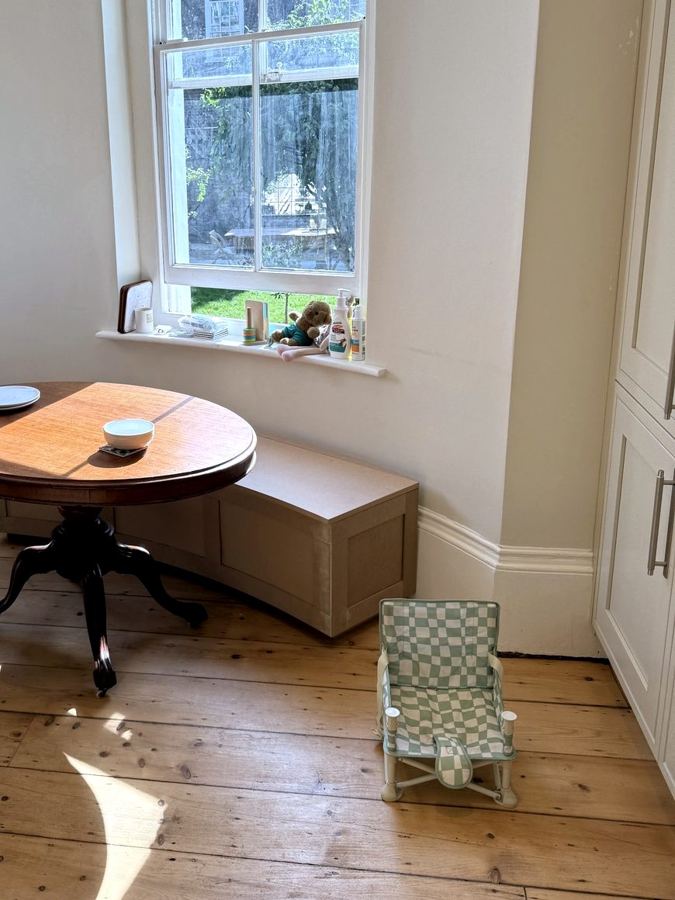
A round table sits in the bay of this kitchen in Kennington. Put a straight bench next to a round table and you get gaps at both ends: places where nobody can sit and crumbs go to hide. So this seat follows the curve of the table instead, and everything under the seat is storage.
Curves look simple when they're finished. Getting there takes a bit more planning than a straight run, so here is how this one came together.
Drawn twice before cutting
The first drawing was a quick sketch on the board, just to get the shape and the panel layout out of my head.
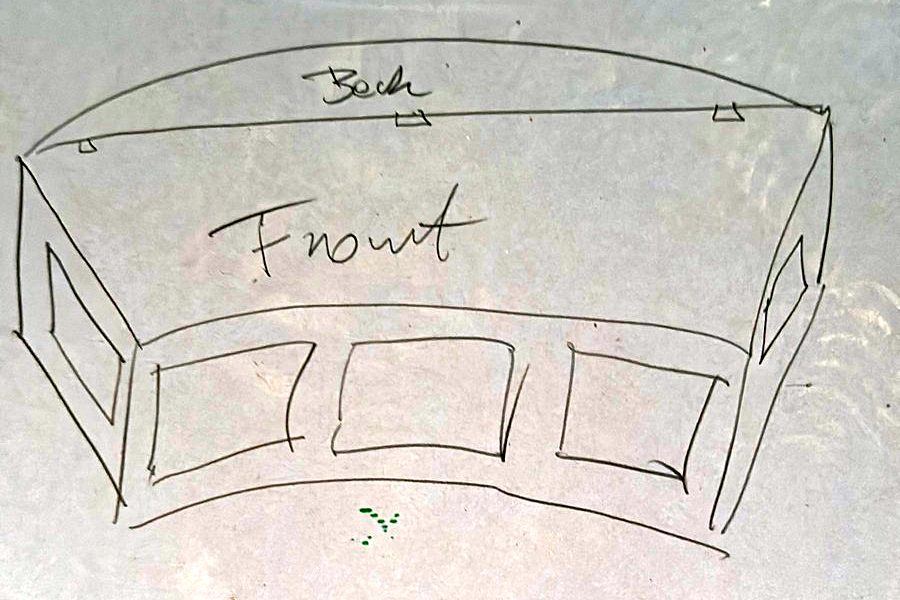
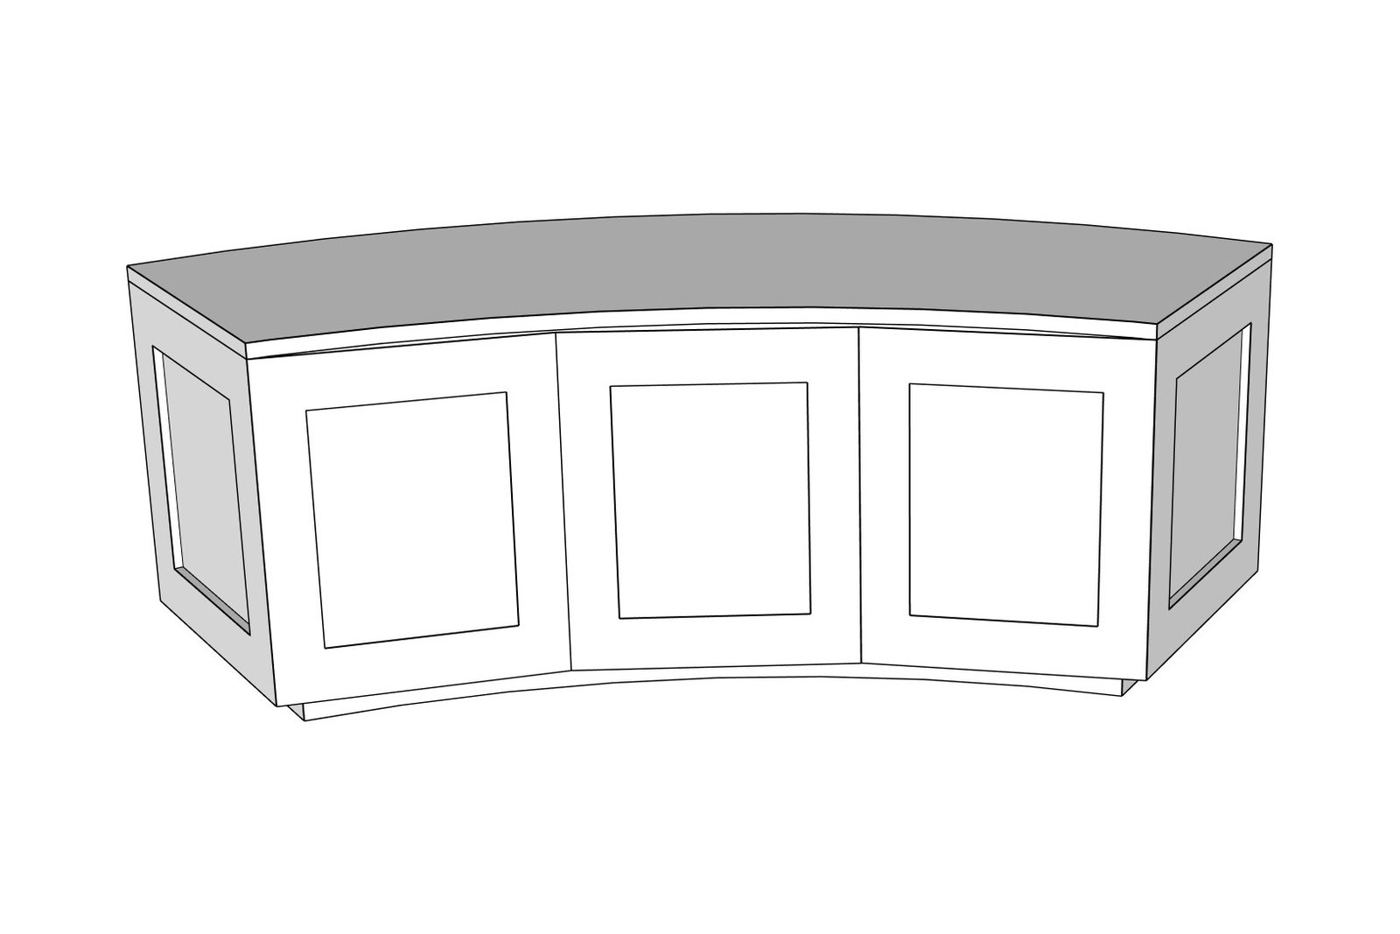
The hand sketch, then the SketchUp model.
Then I drew the whole seat in SketchUp. With a curve, that step matters more than usual. In the model I could settle how tight the curve should be, where the panels split, and how the frames line up, before a single board was cut. Mistakes in a drawing cost nothing. Mistakes in a curved sheet of MDF cost a sheet.
Full size on the board
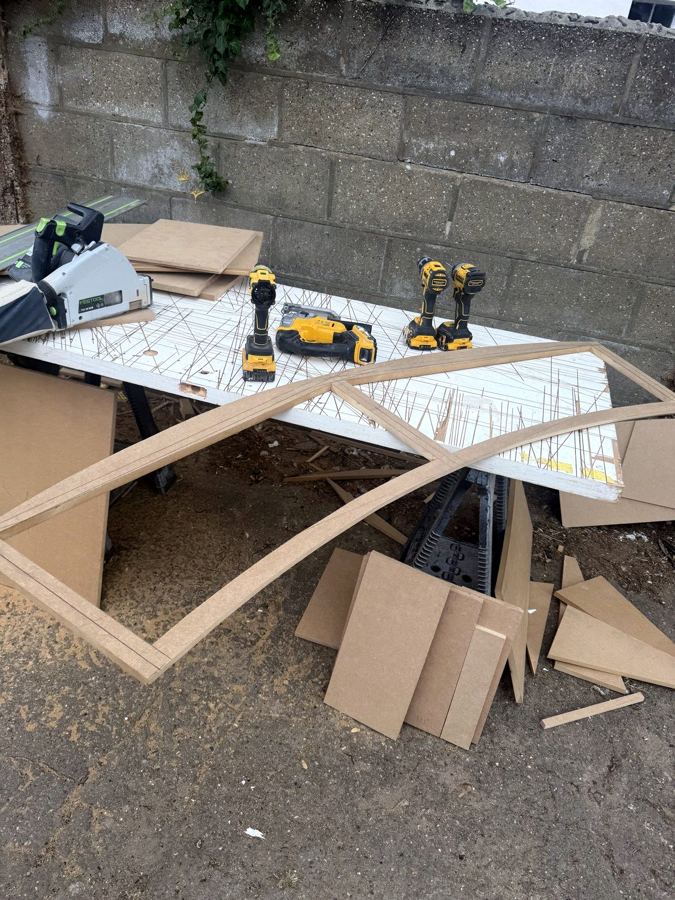
The curve was drawn out full size on a sheet of MDF. That line became the pattern for everything: the curved frames were all cut from it, so they match each other exactly.
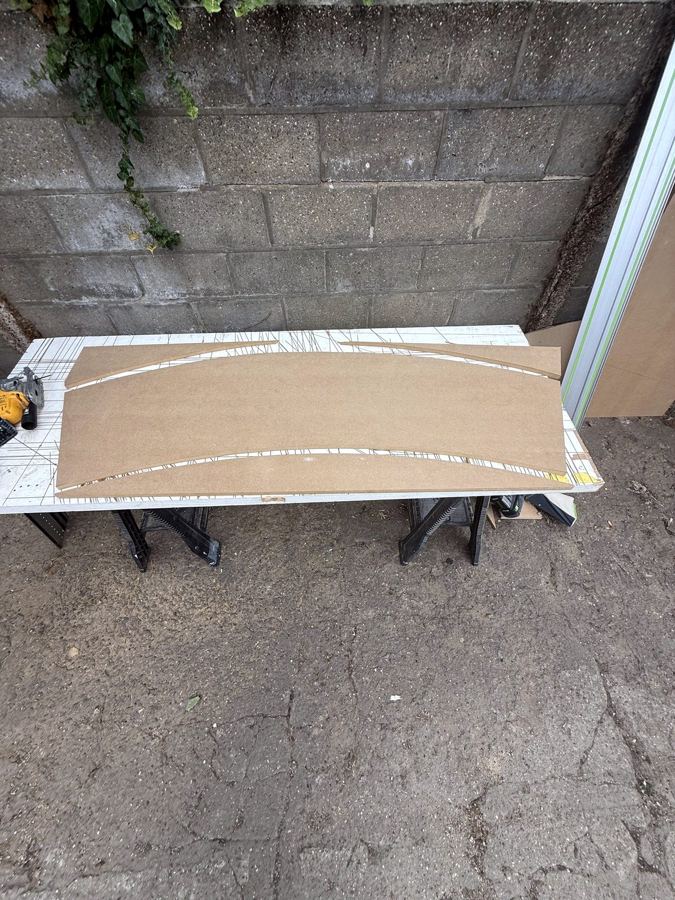
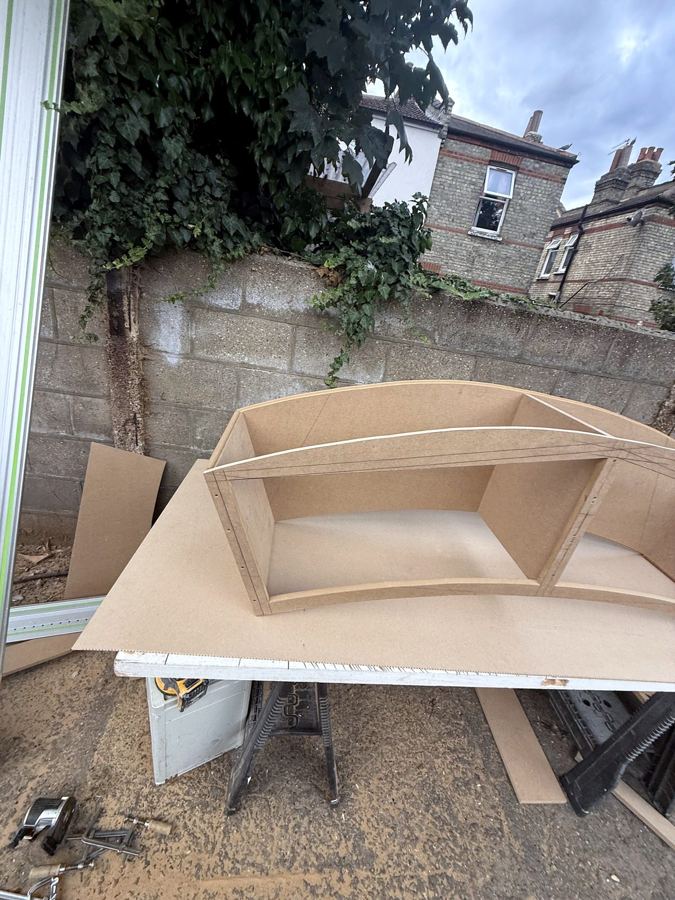
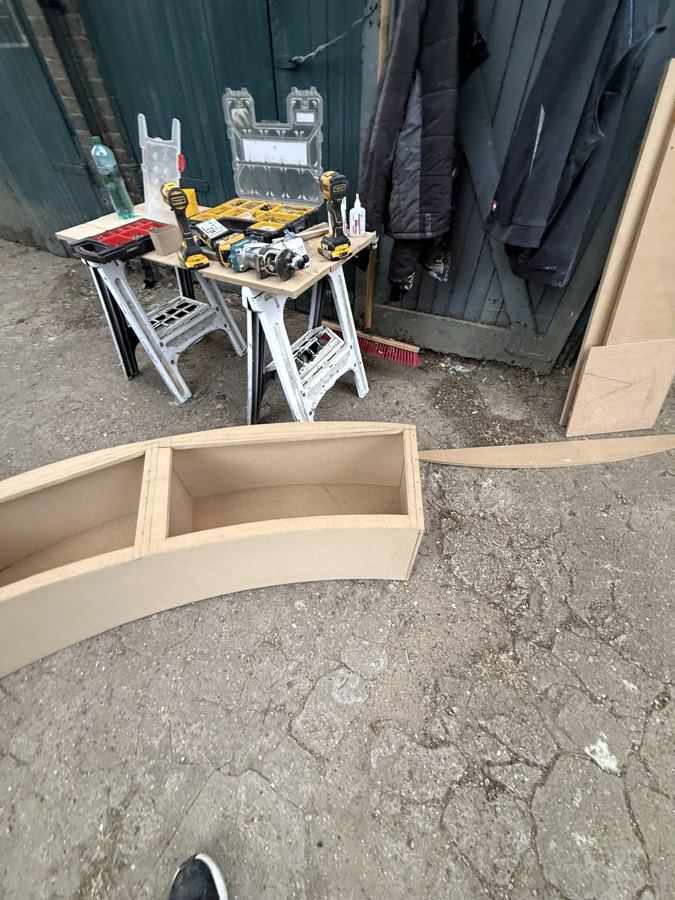
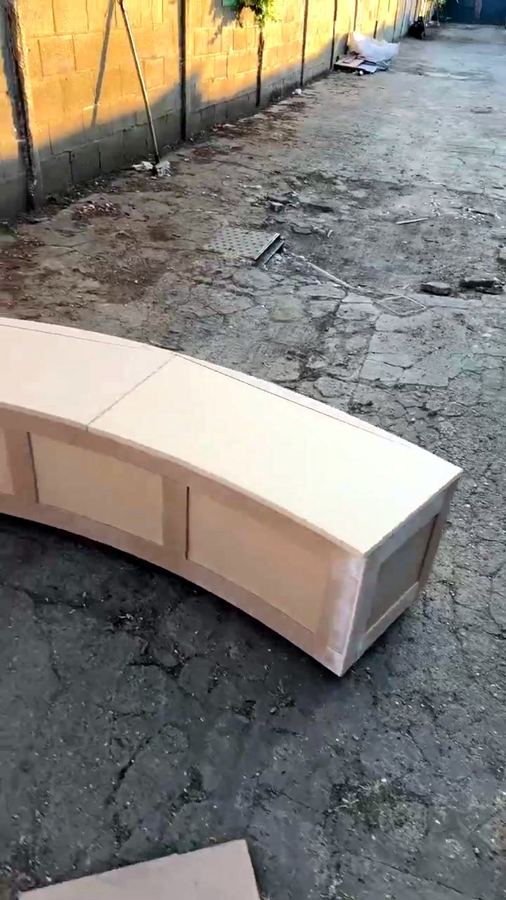
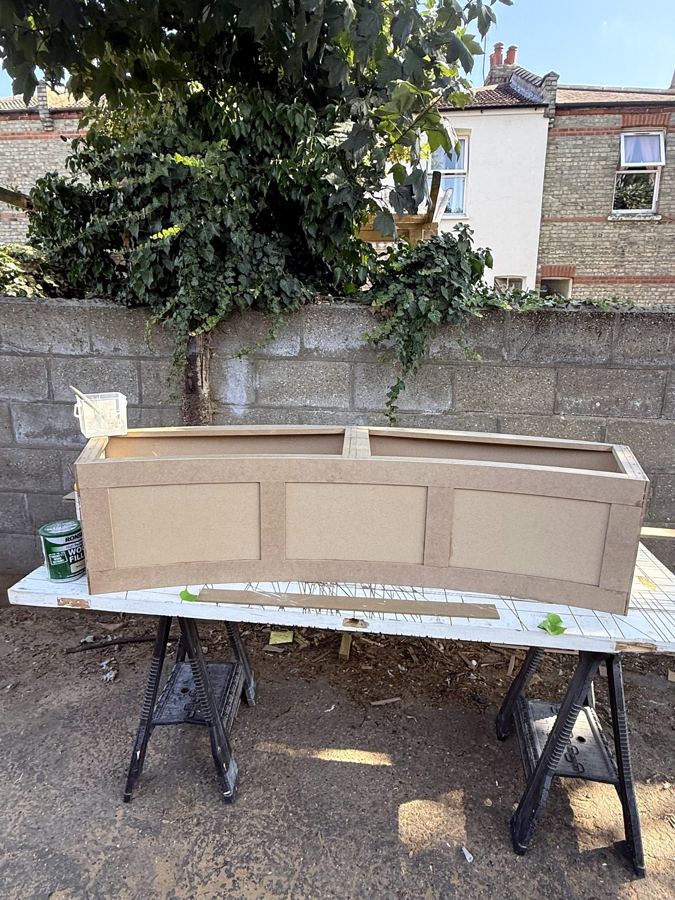
Once the frames were cut, I built the storage boxes between them. Then, before any panels went on, the whole shape went down on the ground for a check. It is much easier to adjust a bare frame than a finished front.
Bending the front
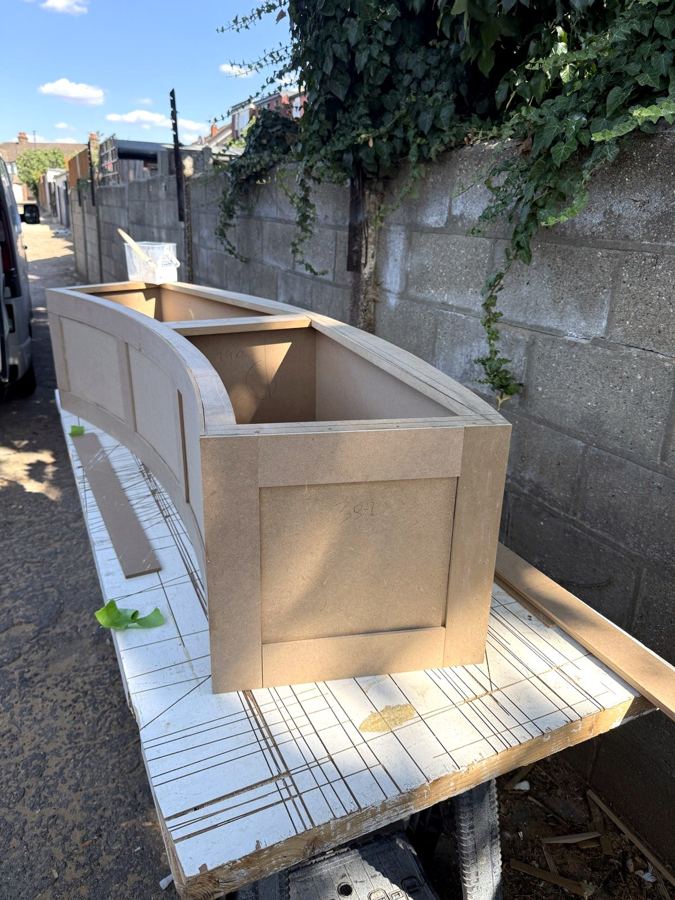
A flat panel will not follow a curve, so the front is flexible MDF. It is MDF cut with grooves on the back, which lets it bend round the frames and hold the shape once it is fixed. The front is panelled, and the panels follow the curve all the way round.
Lids, not doors
On a bench seat, doors at the front get in the way of legs and chair feet. Lift-up lids on top keep the front clean and put the storage where you can see straight into it. The full length of the seat opens up.
If you are building a curve yourself
- Draw it full size before you cut anything, and cut every curved part from that one line.
- Check the shape on the floor before the panels go on.
- Flexible MDF bends one way. Make sure the grooves face the side that will be hidden.
The tools that did the work
Straight cuts came off the Festool track saw on its rail. The curves were cut with the DeWalt jigsaw, and the Makita trim router and the DeWalt sander took care of the edges.
See every photo of this job, including a short clip of the lids opening.