
23 September 2026 / Projects
Two alcove units in Palmers Green, and why the walls come first
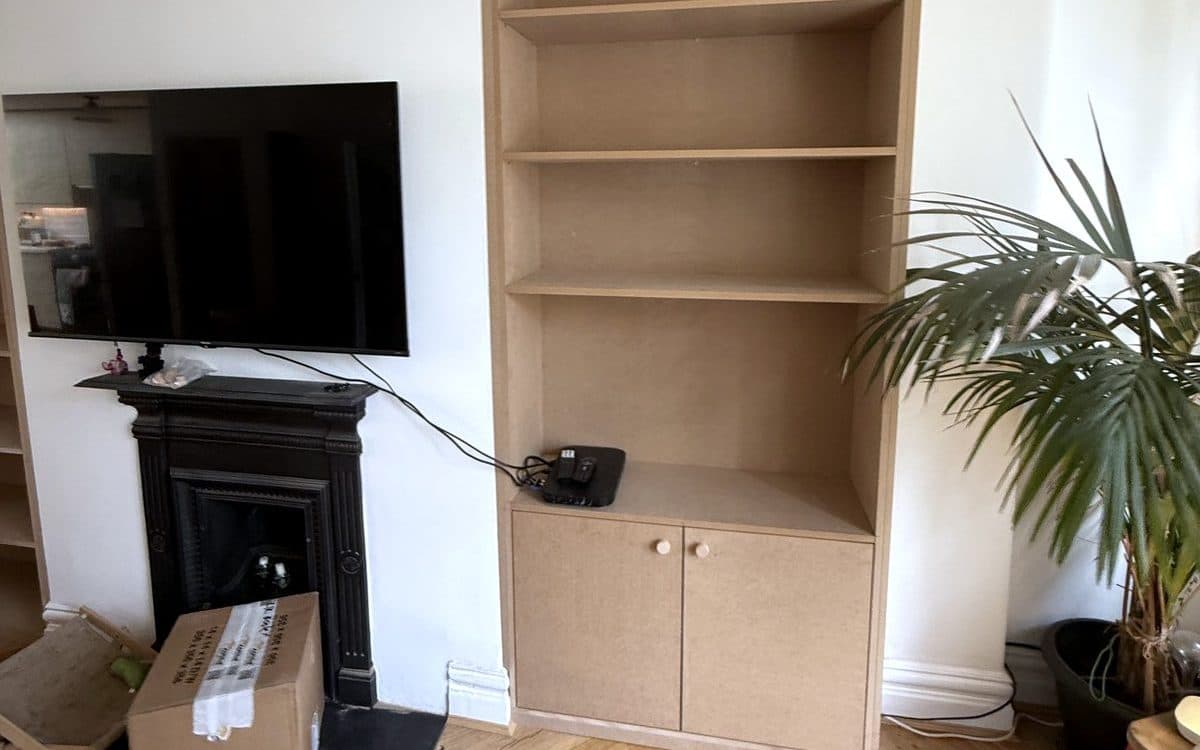
Shelves are the easy part of an alcove job. The hard part is the alcove.
This living room in Palmers Green has a cast-iron fireplace and an empty alcove either side of the chimney breast. One alcove was to get full-height shelving. The other, shelves over a two-door cupboard. Both in MDF.
What makes alcoves awkward
Alcoves in older houses are rarely square. Walls lean, corners wander, and a shelf cut to fit at the top may not fit at the bottom. This room also had a socket low on the back wall of each alcove, skirting along the bottom and a deep cornice above.
Line it first
So before a single shelf went in, both alcoves were lined with MDF: back, sides, top and bottom. That gives a square box to build into. Once the lining is true, everything after it is simple, because every shelf goes into a box that is the same size at the top as at the bottom.
You could fix battens straight to the walls and drop shelves on them. In an alcove that is out of square, the shelves would follow every lean. With a lining, they sit square to the box instead.
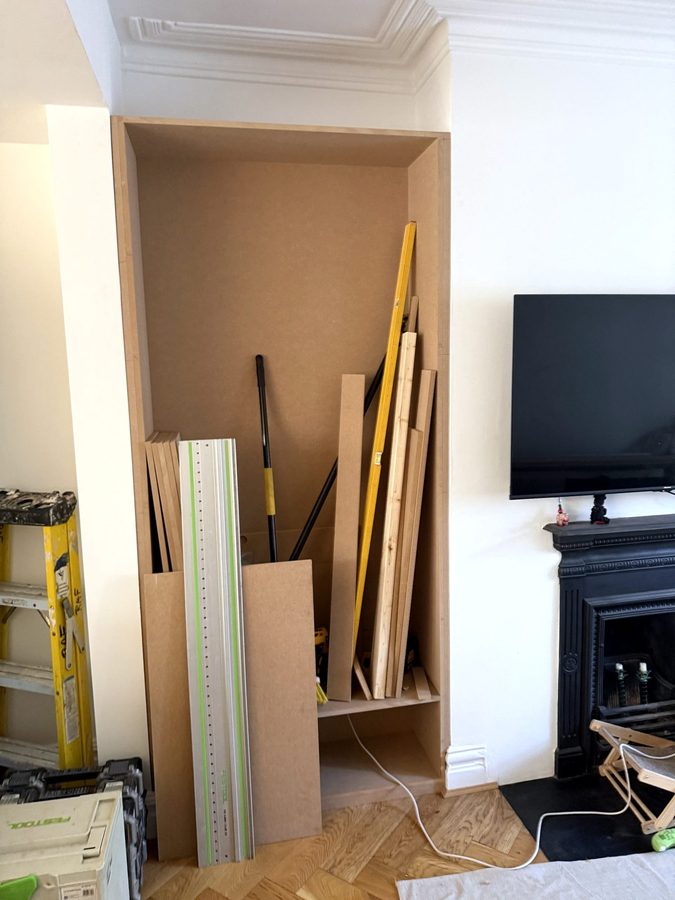
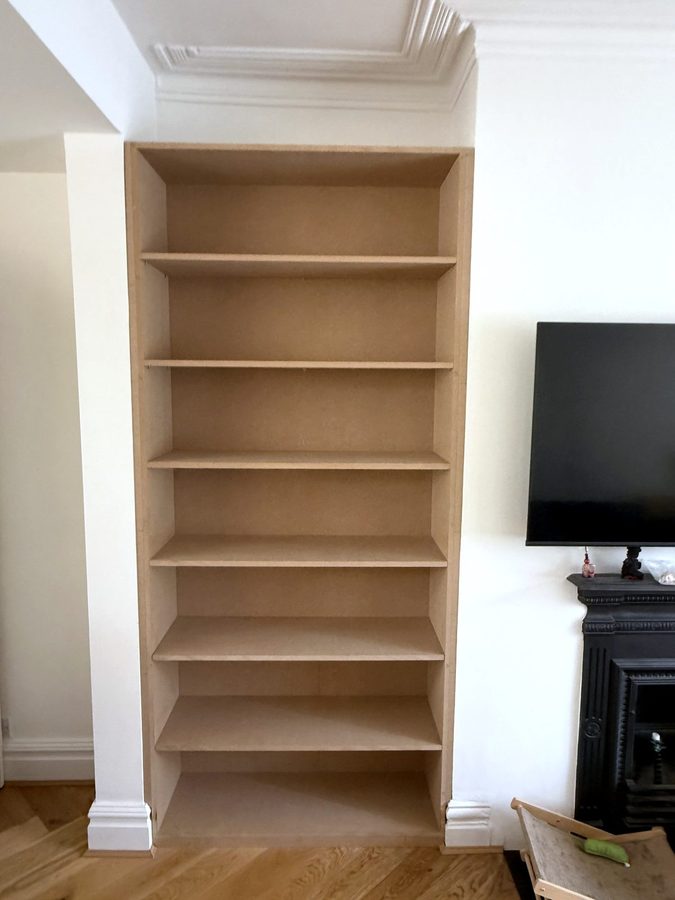
The left alcove, lined, then shelved.
A few things help here. I measure an alcove skirting to skirting. I take the skirting off the back wall, which gains depth. And where a board meets an uneven wall, I scribe it with a school compass: run the compass down the wall and it draws the wall's shape onto the board, then cut to the line.
Sockets, skirting, cornice
The lining has a hole cut round each socket, so they stay where they were. In the right alcove the socket ends up inside the cupboard, under its top. In the first photo below, the red line on the wall to the right is from the laser level, a level line to work to.
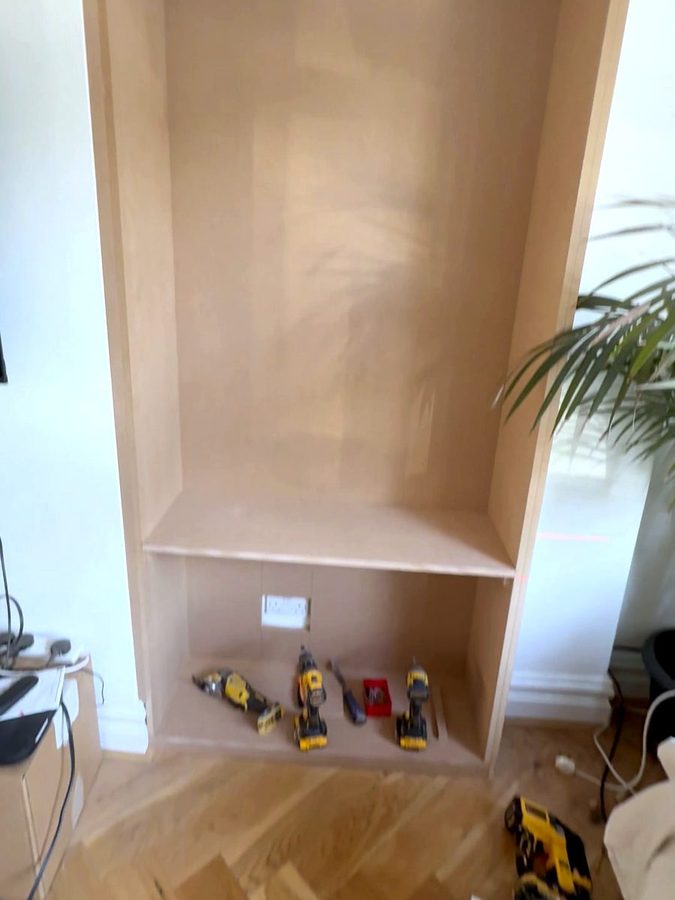
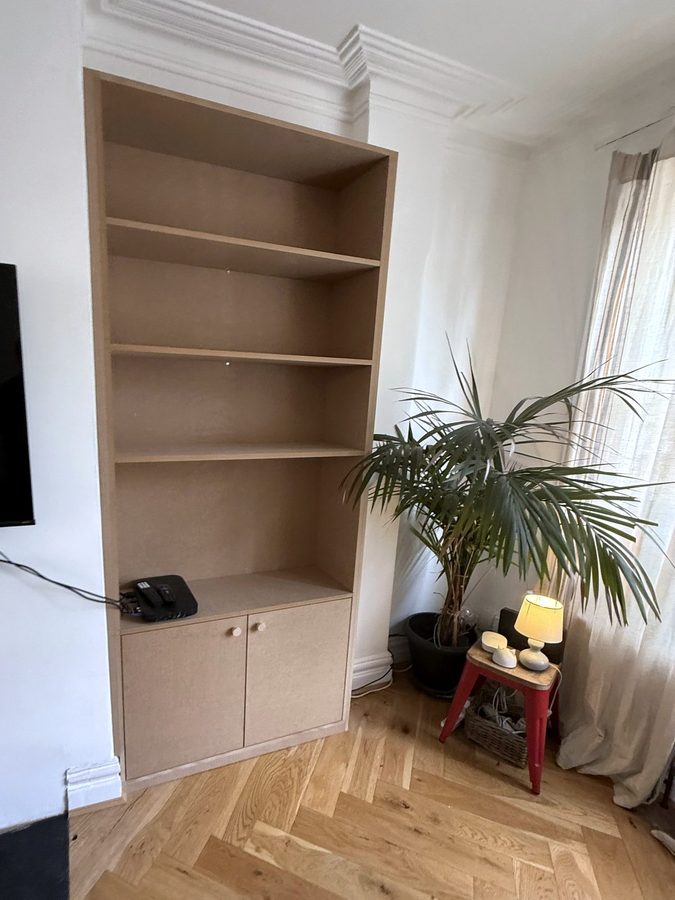
At the bottom, the room's skirting runs up to the side of each unit and stops. At the top, both units stop just under the cornice, and the cornice stays as it was.
Every shelf and panel was cut in the room, on dust sheets, so each piece fits the alcove it goes in. It is all 18 mm board, backs included. The cupboard has two doors with round knobs.
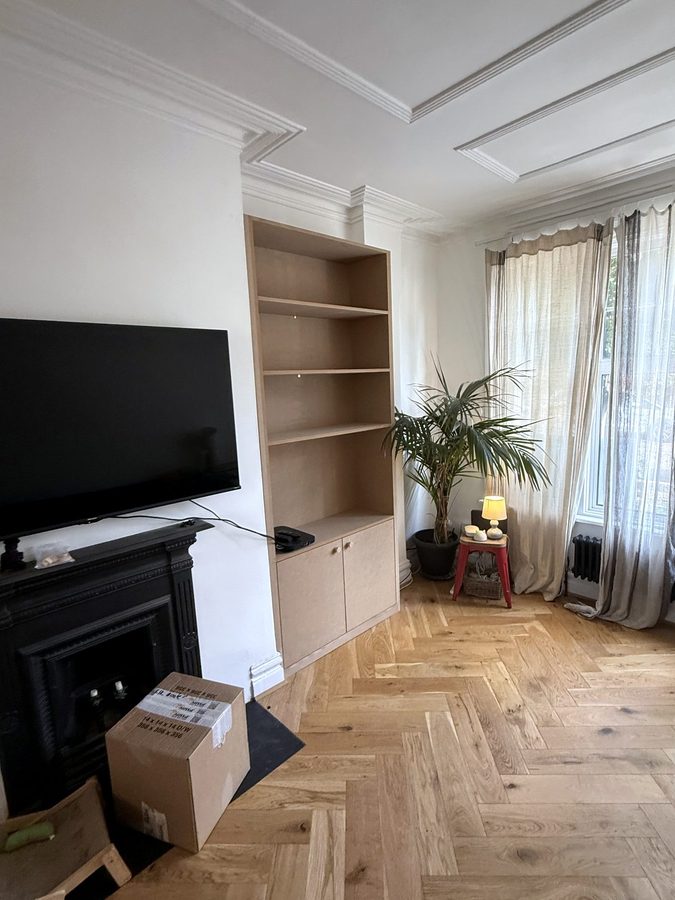
All the photos, including a before and after of the left alcove, are on the job page.
There is a 3D model of both alcoves there as well, drawn in SketchUp at standard sizes rather than measured ones. Open the cupboard, or take it apart board by board.