
16 April 2026 / Projects
Shaped birch ply stands for a home office desk
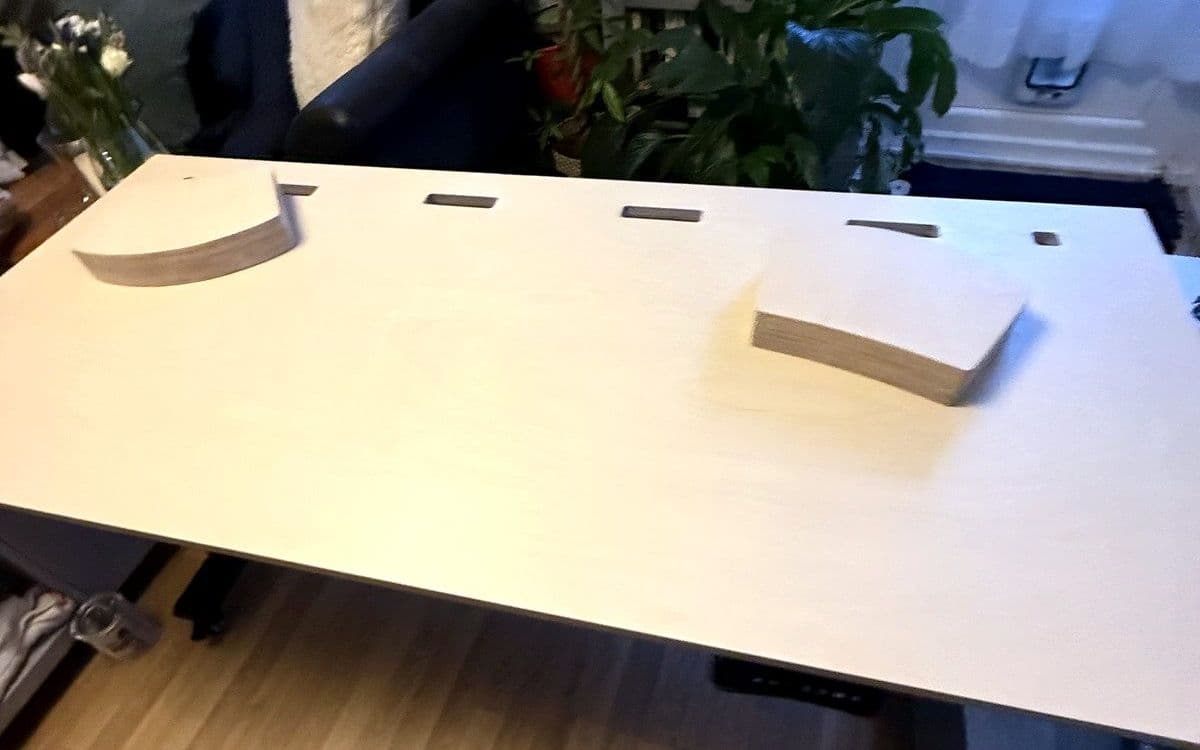
A home office in Wood Green needed a new desk top with slots for the cables, and two shaped stands to sit on it. The stands have a curved shape, and the pair had to match. Not nearly match. Match.
Making one curved part by hand is fine. Making two the same is where a template earns its keep.
Layers of birch ply
Each stand is built up from layers of birch ply, glued together into a solid block. Birch ply is strong and holds a crisp edge, and once it is shaped and sanded, the layers show as fine stripes running round the curve.
The template method, step by step
- Mark out. Draw the shape on the board.
- Make the template. Cut one piece in MDF to the exact curve and get it perfect. Every stand will copy it, faults and all.
- Clamp it on. The template goes over the glued-up layers and is clamped down hard.
- Rout. A trim router with a bearing bit runs round the template. The bearing rolls along the template edge while the cutter trims the ply underneath to the same line.
- Sand. Every edge sanded smooth.
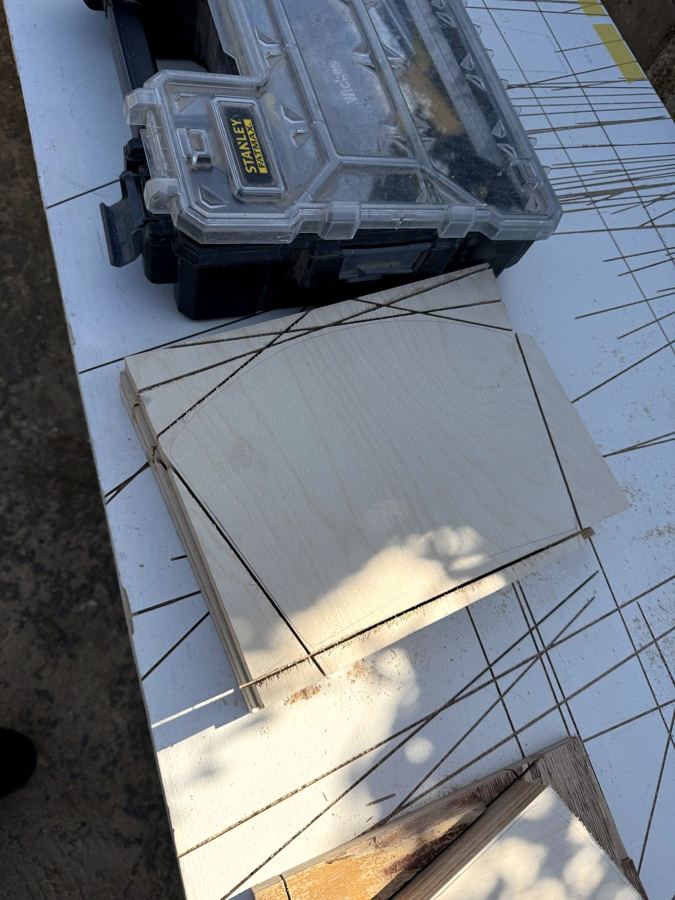
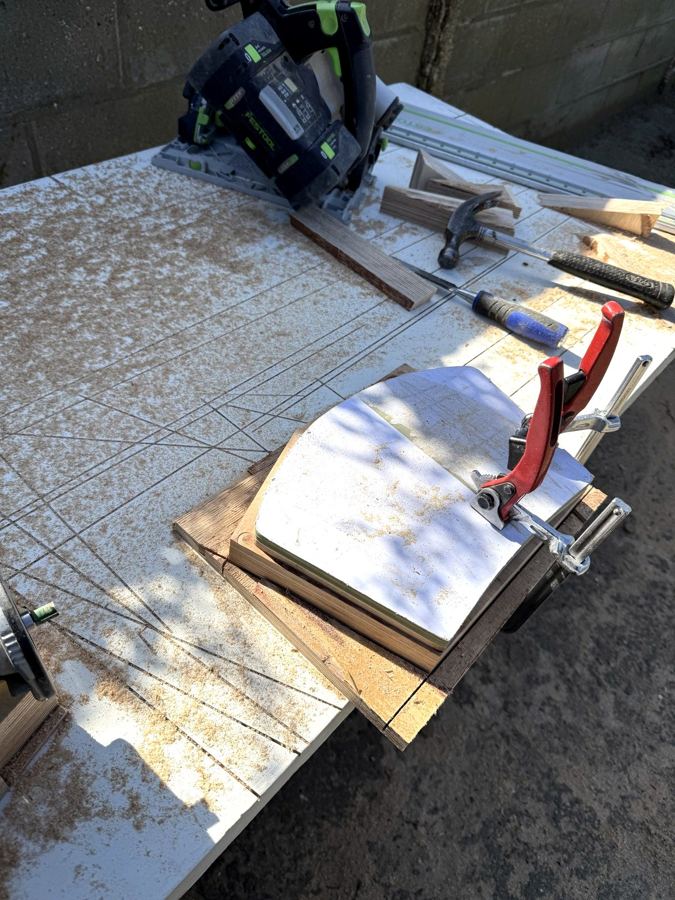
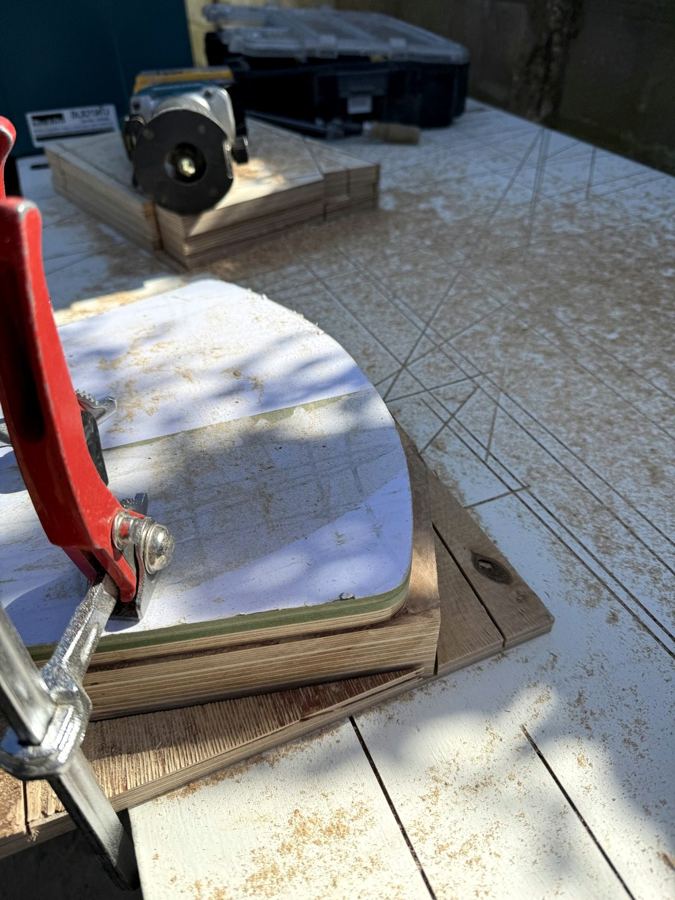
Get the template right once, and the router copies it as many times as you need.
Take light passes with the router. Trying to take the whole lot off in one go is how you get burn marks and torn edges, especially on the end grain of the ply.
The finished desk
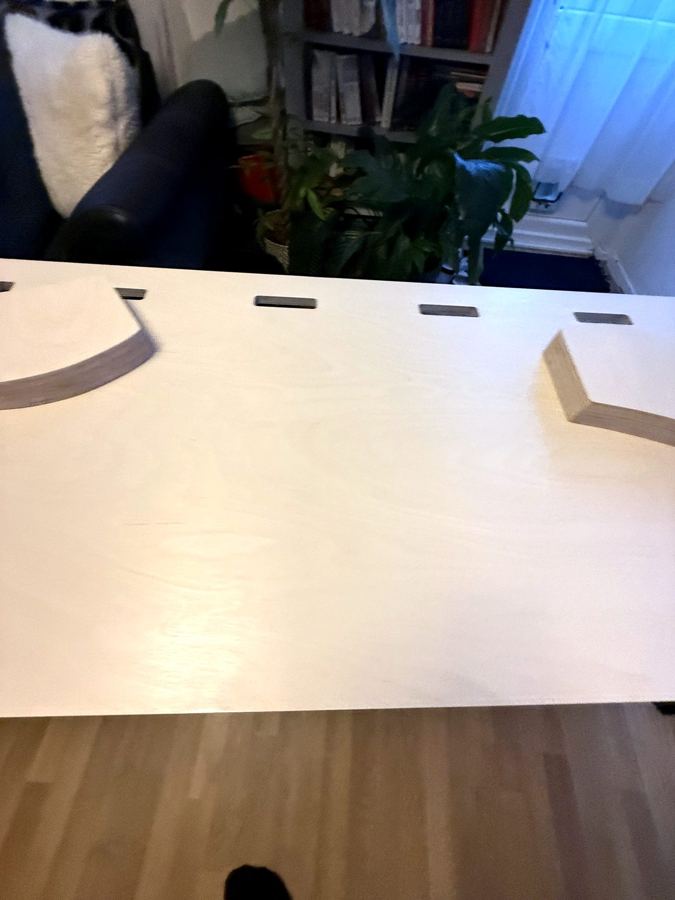
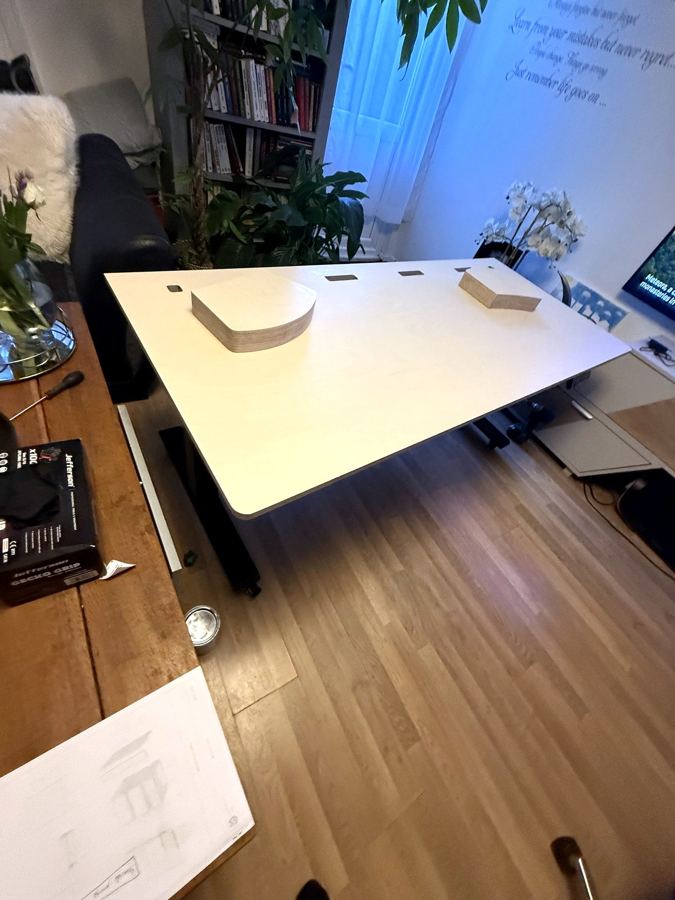
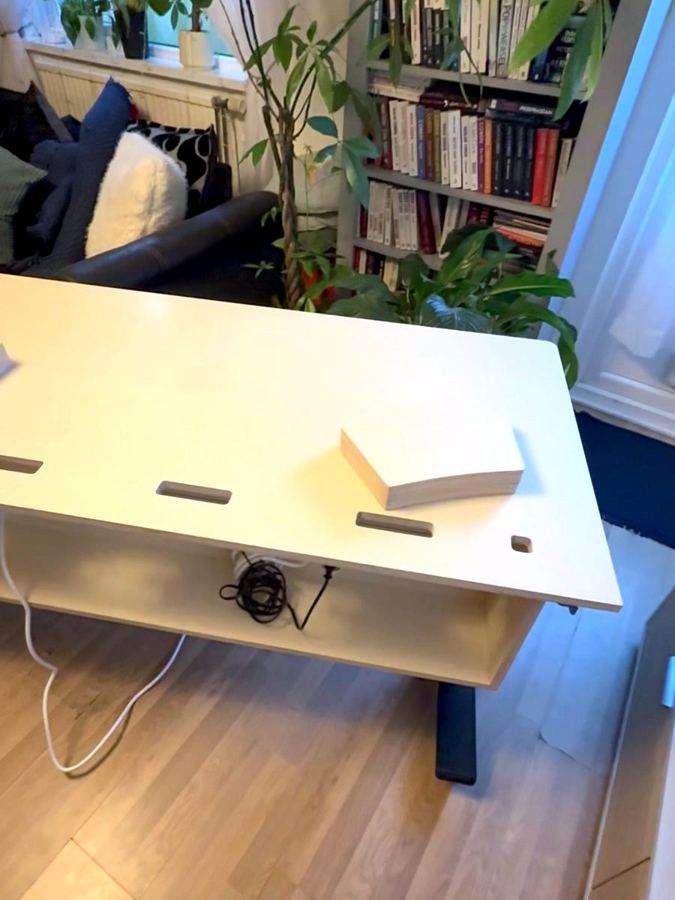
The desk top has slots cut through for the cables, and the two stands sit on top. Seen from above, you can check the pair against each other, which is the real test.
The tools that did the work
The Festool track saw cut the boards to size, the Makita DRT50 trim router did the template work, and the DeWalt DCW210 sander finished the edges.